Exploring Hot and Cold Changes
When Stevie Heat melts the Fro Yo, it changes to liquid. Then AJ Gadgets uses his Chill Gadget to make the Fro Yo cold and the Fro Yo turns solid again. You and your child can investigate what happens when you heat solid materials and then cool the materials. Which items will change? How will these items change? Will a solid material melt? Can you change it back to solid again?
Materials
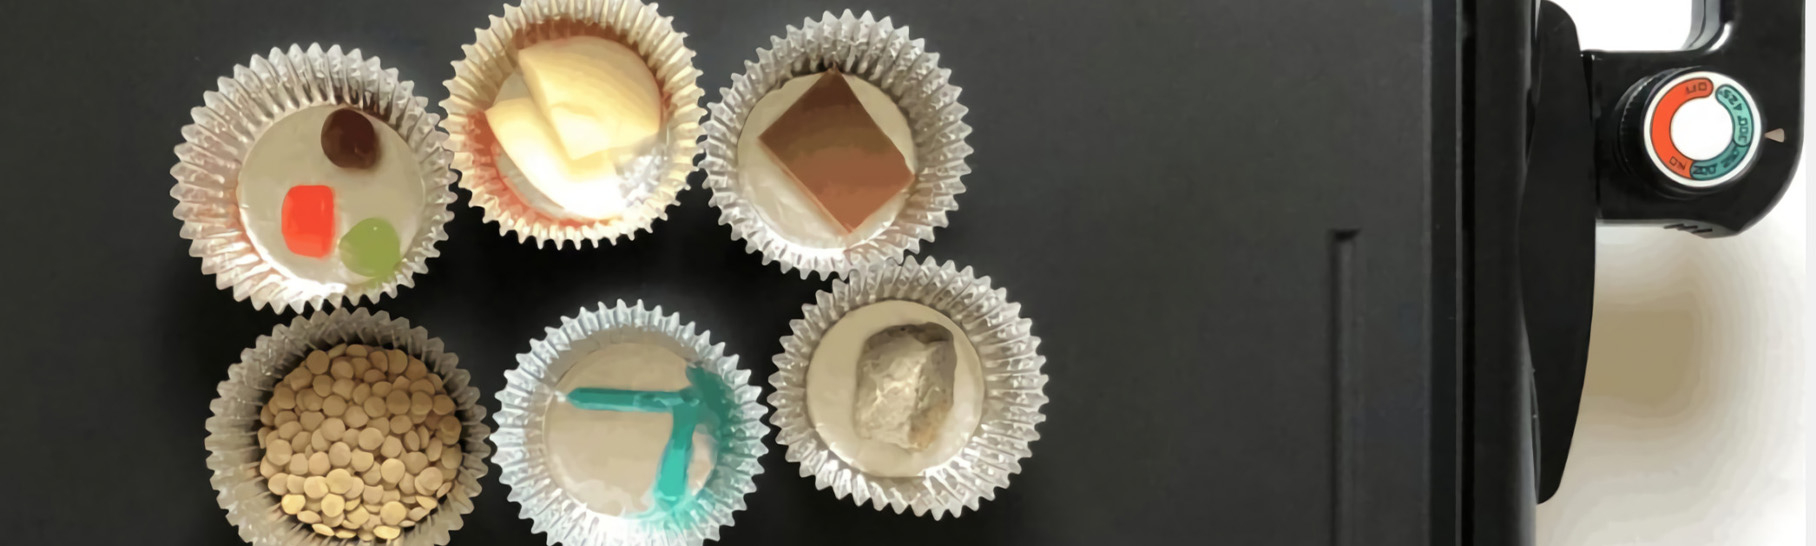
- 3 solid items that will melt when heated on a stove, such as birthday candles, crayons, chocolate, frozen juice, or ice cubes — 2 samples of each item
- 3 solid items that do not melt when heated on a stove, such as rice, dried beans, a rock, a slice of apple or other fruit — 2 samples of each item
- 3 ice cubes
- Aluminum foil or another thin, heat-proof material such as a foil muffin tin
- Tongs, oven mitt or other safety tools to handle hot items
Before you start, make sure you have a heat source (such as a frying pan on a stove, hot plate or electric skillet) and a freezer ready to use.
Directions
- If you are using aluminum foil, shape six pieces of foil into small cups with raised sides so melted materials will not leak out. Place one material in each cup, or in each compartment of the muffin tin. Preheat your heat source. Keep the ice cubes in the freezer for now.
- Have your child observe each item, one at a time. Ask your child to describe how each item looks and feels. Have your child predict what will happen when each item is heated.
- Test the materials! Set one sample of each item, in its foil cup, on the heat source. Do not let your child do this step! See Safety Tips. Your child may watch the items from a safe distance if desired.
- After a few minutes, remove the items from the heat and place on a safe, heat proof surface such as a countertop or table. Place each heated item next to an unheated sample of the same item. Your child can observe each heated item and compare it to the unheated sample. Did the item change? What changes can you see? Is this what you predicted would happen?
- Point out the items that changed. Ask: "I wonder if there is a way to change these materials back to the way they were before we heated them?" Let your child share their ideas. If your child doesn’t bring it up, you can suggest making the items cold by putting them in the freezer. Take a picture of the items that changed. Then place them into the freezer, still in their foil cups. Tell your child they can finish the investigation tomorrow!
- The next day, set out the original, unfrozen samples of the items you put in the freezer. Get the photos of the melted items. Your child can take the frozen items out of the freezer and compare the frozen items to the original, unfrozen samples and the photos of the melted items. What changes do you see? How are the items from the freezer like the original solid items? How are the items from the freezer like the heated items? Did all the heated items change back to how they were before you heated them?
Talk with your child about what they notice. For example, some items became liquid. These liquids flowed and spread out. When these items got cold, they became solid again, like the original items. But the items did not return to their original shape.
Safety Tips
- Use extreme caution when heating items.
- Do not heat items that may catch fire, release toxic fumes or explode.
- Do not use a microwave. Items heat differently in a microwave and may not be safe.
- Keep the heat source out of children’s reach.
- Do not pick up hot items or hot foil cups with your hands.
- Keep hot items out of children’s reach. These items are too hot to touch. Do not leave the heat source unattended.
This craft comes to you from the creators of Hero Elementary.
Iowa PBS STEAM Activities and Crafts provided by PBS KIDS Parents.